My partner and I bought supplies to start canning our own food about a year ago, having wanted to try it out for years. It wasn’t until a couple of days before our big move that we finally gave it a shot. I don’t know what we were waiting for, but now that all our kitchen tools are packed up in boxes and we’re on the road (more or less), I’m eager to can more! I’ll just have to wait.
Although timing-wise it made little sense to make a big mess and try something new as we were packing and cleaning the whole apartment, preserves seemed like a great gift–jars don’t take up much space in our fully-packed car, we don’t need to worry about anything spoiling before christmas, and it meets my number-one rule of gift-giving: don’t give anything you wouldn’t want to receive. After donating more than half our household stuff, we didn’t feel right about giving something that might just clutter up our friends’ homes.
Plus, I came across a couple of recipes I was really excited to test out. Both recipes are from one of my favorite food/craft blogs, Handjobs for the Home.
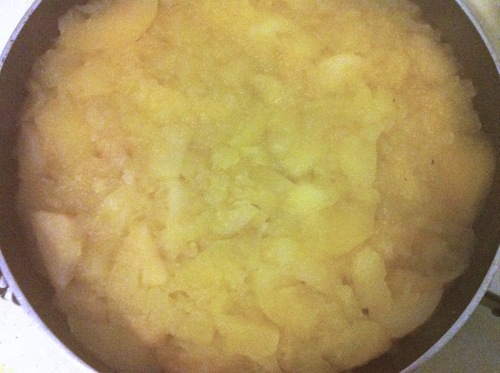
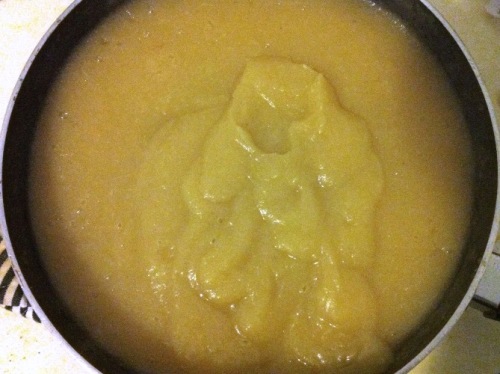
We started with apple-pear butter, with honeycrisp apples and bosc pears. I love a good apple butter, and bosc pears seemed like the perfect addition. Since the recipe is right there behind the link, I won’t copy it here, but I’m happy to report that it was just a delicious as it is beautiful.


I used my immersion blender to puree the apple-pear butter, and as always, it worked beautifully. Then back to the burner for seasoning and a lot of cooking down to achieve the right buttery consistency, and then it was time for canning! After sterilizing the jars, we ladled in the finished butter:


We used a boiling water bath to can the preserves, and it was super easy. I was a little nervous, so I read through quite a few instructions and guides online, as well as the one that came with our big canner. Here are some of the valuable things I learned:
only use the boiling water bath for high-acidity preserves, which includes most fruit as well as anything pickled (the vinegar does the trick), and some vegetables–there are guides out there that can tell you what is safe to can this way;
always use new lids–the jars and rims can be re-used but need to be sterilized in boiling water;
make sure you give your preserves the right amount of head-space (the gap between the preserves and the lid) because some preserves need room to expand, but you don’t want too much space;
follow the recommended processing time stated in the recipe (in this case, 10 minutes);
make sure the jars sit upright in the water bath–the excess air needs to escape upward;
and wait at least an hour before checking the seal on the lid.

Next week I’ll tell you more about our second canning project and post of final-product photos. Happy holidays!

Leave a Reply